DIY Tutorials & Guides
Create your own sustainable storage solutions with our step-by-step guides. These projects are perfect for beginners and use simple tools and natural materials.
Tools You Need
Essential Tools
- Sharp scissors
- Natural glue (water-based)
- Measuring tape
- Cloth or fabric scraps
- Wood pieces (optional)
Safety & Eco Tips
Always work in a well-ventilated area when using adhesives. Choose natural, non-toxic materials whenever possible. Keep tools clean and organized. Start with simple projects before attempting more complex designs.
Step-by-Step Photo Guides
Rope Baskets

Materials Needed:
- Natural jute or cotton rope (approximately 50-100 feet depending on basket size)
- Water-based fabric glue
- Scissors
- Base material (cardboard or wood circle, optional)
Steps:
- Cut a length of rope for your base. If using a base, glue the rope in a spiral pattern starting from the center.
- Continue coiling the rope, applying glue between layers to hold the shape.
- When you reach the desired base size, begin building up the sides by angling the rope upward.
- Continue coiling upward, maintaining consistent tension and applying glue as needed.
- When you reach your desired height, cut the rope and secure the end with glue.
- Allow the basket to dry completely before use (24-48 hours).
Tip: Keep the rope tight and even for a professional look. You can add handles by leaving gaps in the sides and threading rope through.
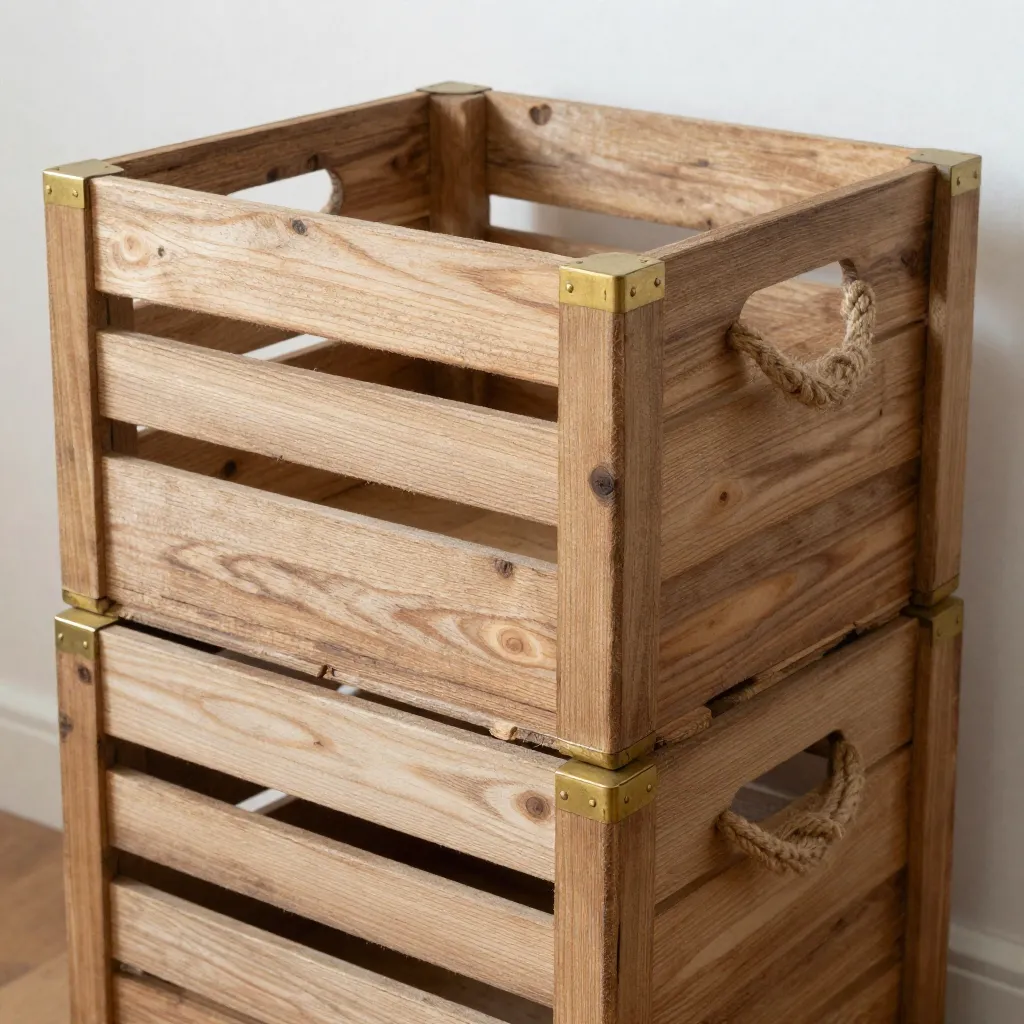
Pallet Wood Crates
Materials Needed:
- Reclaimed pallet wood (ensure it's clean and free from chemicals)
- Water-based wood glue
- Small nails or screws (optional)
- Sandpaper
- Measuring tape
Steps:
- Disassemble the pallet carefully, removing nails and sanding rough edges.
- Measure and cut four pieces for the sides and one piece for the bottom.
- Sand all pieces smooth, paying attention to edges and corners.
- Assemble the crate by gluing the sides together at the corners.
- Attach the bottom piece, ensuring it fits snugly.
- If desired, reinforce corners with small nails or screws.
- Allow glue to dry completely before sanding any rough spots.
- Optional: Apply natural wood oil for protection and finish.
Safety Note: Always wear gloves when handling reclaimed wood. Check for splinters and sand thoroughly before use.
Fabric Wall Pockets
Materials Needed:
- Organic cotton or linen fabric
- Scissors
- Natural thread or fabric glue
- Wooden dowel or branch for hanging
- Measuring tape
Steps:
- Cut a rectangular piece of fabric for the back panel (approximately 12x16 inches).
- Cut smaller rectangular pieces for pockets (various sizes work well).
- Fold and hem the top edge of the back panel to create a channel for the hanging rod.
- Position pocket pieces on the back panel and secure with glue or stitching.
- Reinforce pocket edges and bottom seams for durability.
- Thread the wooden dowel through the top channel.
- Hang on the wall using hooks or nails.
Variation: Create multiple pockets of different sizes for organizing various items. Consider adding decorative stitching or natural dye for color.
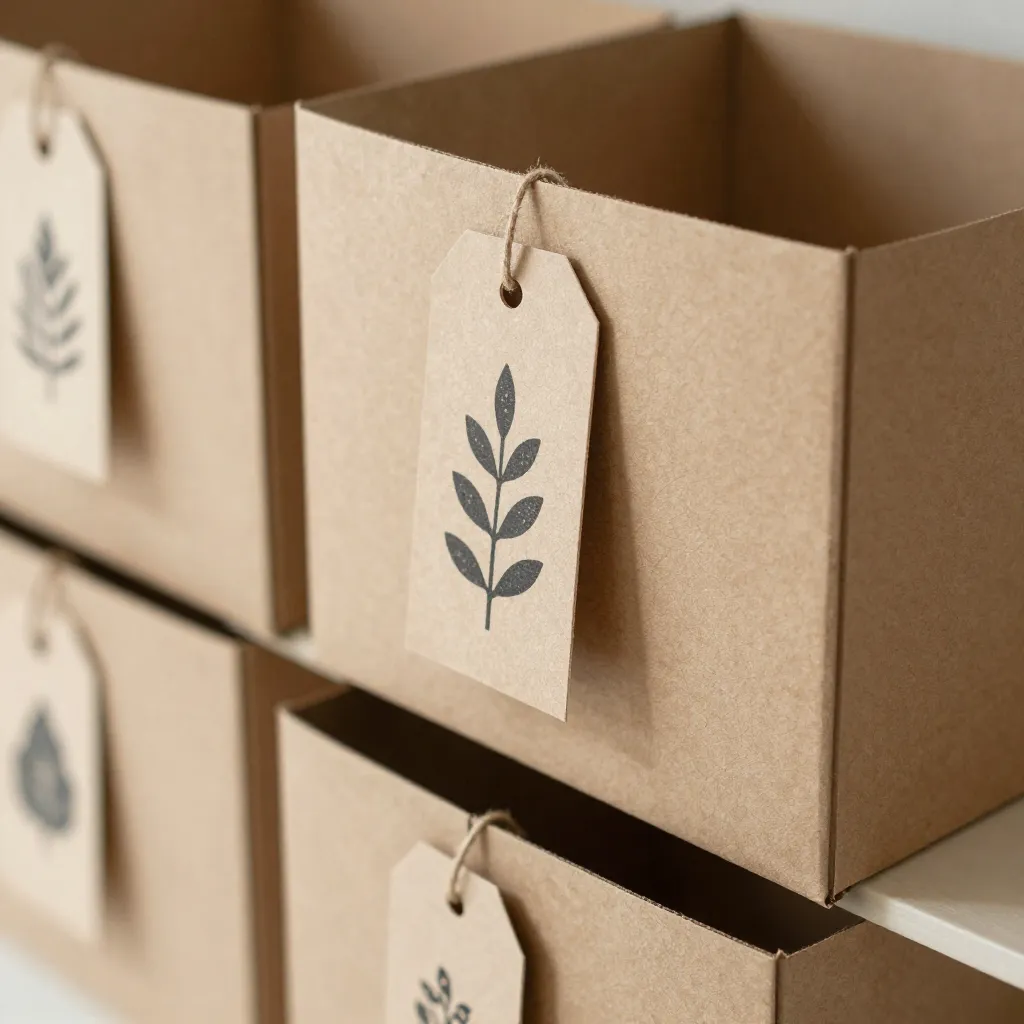
Recycled Cardboard Drawer Dividers

Materials Needed:
- Thick cardboard (from shipping boxes)
- Ruler and pencil
- Sharp utility knife or scissors
- Water-based glue
- Natural wrapping paper or fabric (optional, for covering)
Steps:
- Measure the interior dimensions of your drawer.
- Plan your divider layout on paper first.
- Cut cardboard pieces to create the divider grid. Use slots to interlock pieces.
- Cut slots halfway through each piece where they will intersect.
- Assemble the grid by slotting pieces together.
- Optional: Cover with natural wrapping paper or fabric for a finished look.
- Place the divider system in your drawer and adjust as needed.
Tip: Create custom-sized compartments for specific items. These dividers can be easily modified or replaced as your storage needs change.
Printable Measurement Templates
Download our printable templates to ensure accurate measurements for your projects. These templates include common sizes for baskets, crates, and organizers.